Sunday, April 11, 2010

Danielle Condo Review - Unit 42


View from master BR looking W


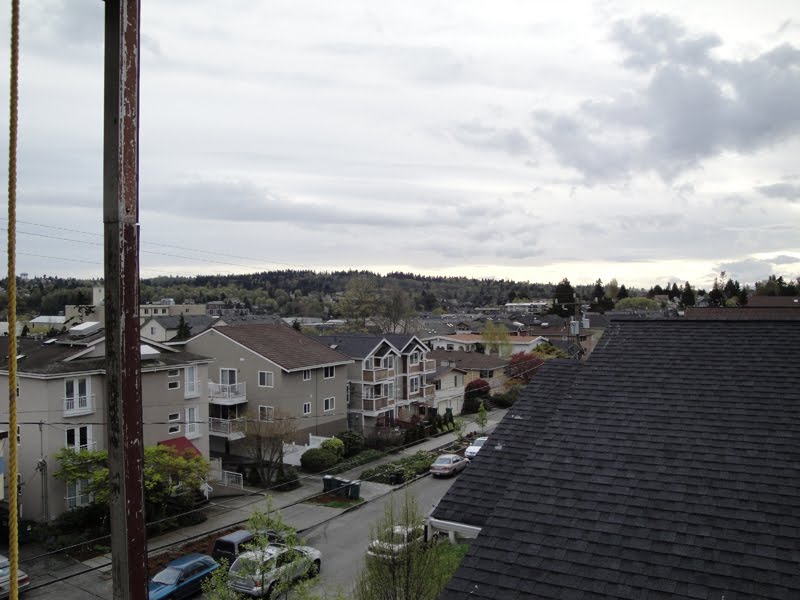
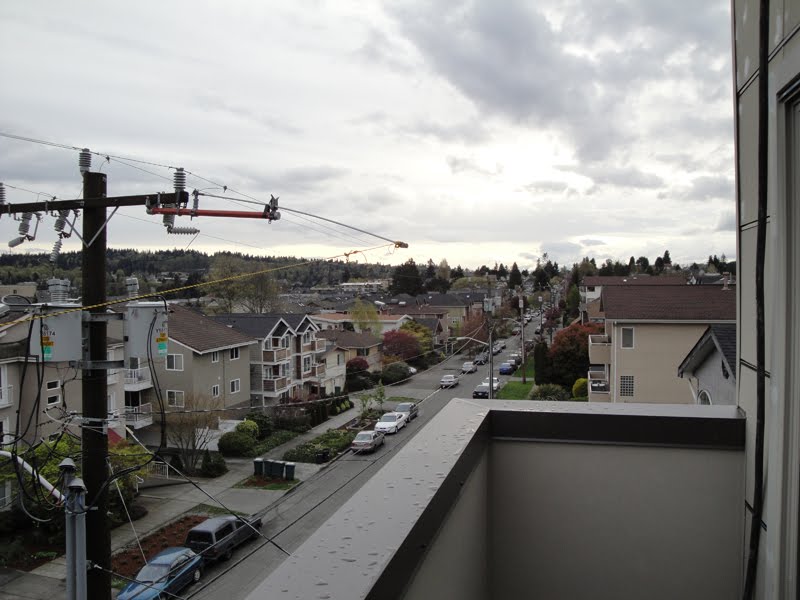
view fr master BR - looking SW


View fr master BR looking NW


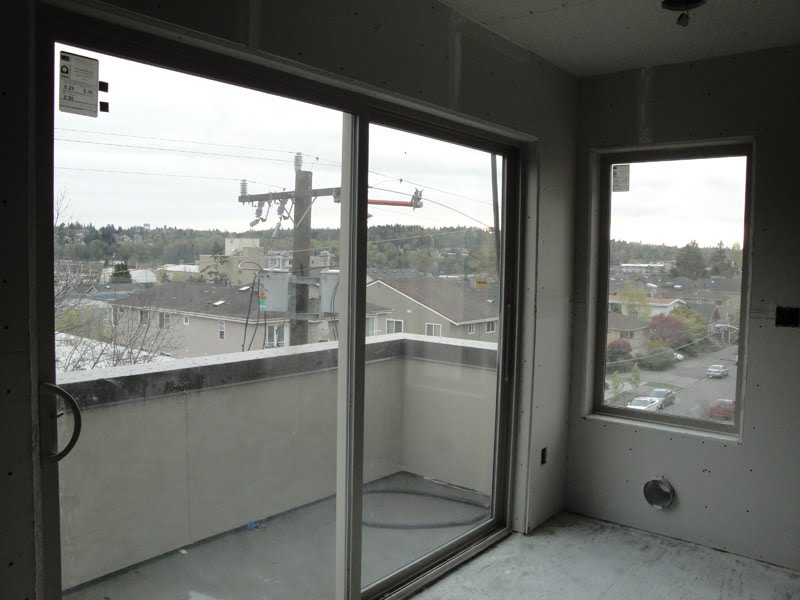
view from the deck of 42


View from the deck looking W


View from the deck looking E


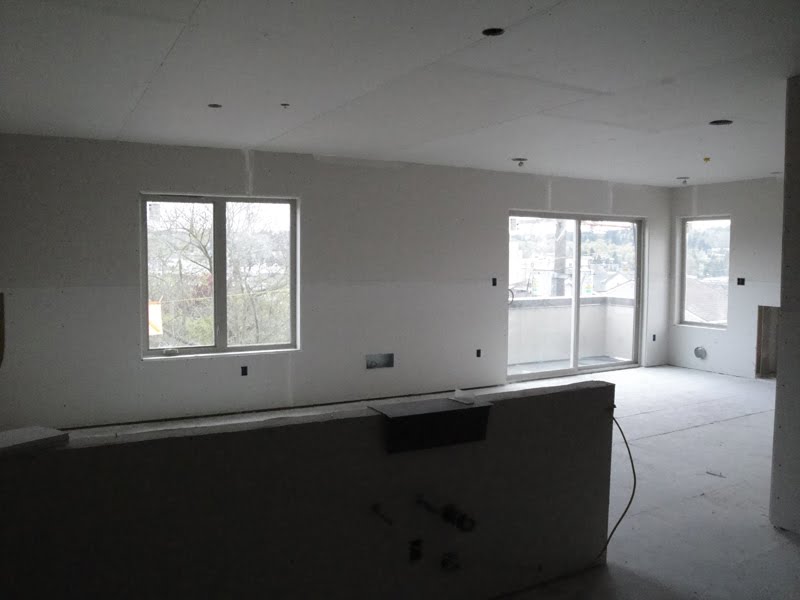
view from the kitchen looking SW


view from living rm looking SW


View from dining looking at living


view from master BR looking NW


Exterior showing SW corner


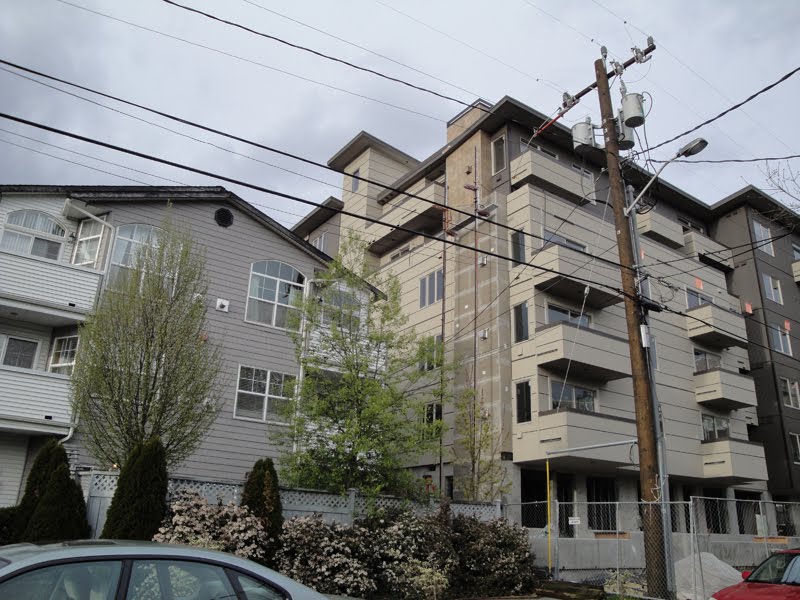
Exterior from 57th(?) street, unit is top deck to the left in the beige volume

Monday, January 4, 2010

Engagement!!!

Woo Hoo! Louisa and I got engaged this past weekend, while cross country skiing at White Pass resort over New Years. We were there on our semi-annual trip with 8 of our closest friends; when we rent a cabin in the mountains and ski and snowshoe for the New Years holiday. This post includes a few photos of the proposal spot and of the ring. More details about the story are available from us! Here's Louisa and I the next day, posing at the White Pass nordic center sign.


Here we are right afterwards, looking pretty happy! that's a good sign.

Here's the spot where Evan took a knee (in ski boots)...


Here's a photo of the window at our house that was the inspiration for the ring design.

These are some of the design sketches for the ring. Evan collaborated with a jewelery designer at local Greenlake Jewelery to make the ring.


These are cool photos of the ring right after being cast. You can see how rough it is - next step is hand finishing and detailing.

And here's a photo of Louisa's engagement ring! done at the jewelery designers shop.


... and here's the ring on! It looks better here where it belongs.

Umm, details to come on the wedding..!


Wednesday, February 25, 2009

Tiling Complete

Hooray! We're showering at our own house again. You can see in these photos that the tiling work is complete, grout is in, caulk is in place, and the tiling is sealed. All that remains is the clear finish on the salvaged wood trim. Let us know what you think! Now it is on to bigger and better things - this has been a big project and we are very proud of the results.


Tiling progressing in 2009

OK! I haven't posted in a long time... so here's the update on the house projects. We've been chipping away at the bathroom finish work for months now, and now that I've been laid off - I've had the time to finish off the tough part - the tiling. Here are a few photos of that progress. You can see that this is pre-grouting.

A photo of the fixture side. It is going to be great to shower in our own house again! While tiling is in progress we've been using the gym and the neighbor's house.

Here's a shot of all the tile mortared in! Now a 72 hour wait to grout.

Sunday, July 20, 2008

Cedar Wainscot, Toilet re-mount

Oops, we didn't take photos for a while between this and the last post. The wood wainscot that you see is made of offcuts from another project that we bought from Second Use, an architectural salvager (http://www.seconduse.com). We decided to put it up horizontally for a more contemporary look. It will also eventually go on the tub facing too. We're debating the color - we were going to paint, but now that it is up we like the natural wood feel and random lengths.
The wainscot was completed in one afternoon/evening. With the toilet still pulled for the tile, we wanted to get this in so we could place the toilet the final time and do the sink too. Quite a scramble.
Here's a shot of the room with the toilet in, and the pedestal sink on the way.

Setting tiles

Setting the tiles felt great - because it was a true finished, final surface. First we did a tile layout, and test fit the entire room, making cuts as we went. This is a photo of the actual setting taking place. Once the tiles were fit and cut, we pulled them all up - spread mortar and set them.
Here's a shot showing the setting taking place, the orange is the radiant heat mat.
Here we are cleaning excess mortar off the tiles. You can see how we laid down the mortar on the floor with the trowel.
A detail of the tiles and mortar.
This is several days later - after the mortar set we then put down the grout and finished that. You can see that the joints have been cleaned, but the grout haze is yet to be removed. Finished floor!

In Floor Heating

This is a photo of the in-floor heating elements being mounted (this was the orange colored roll in the previous post's photos).
Here's another shot. You can see how we worked the mat around the toilet area.
To make unusual shapes, you simply remove the mat and go freeform. These should keep our feet warm in the morning. We taped down the element that will later be encased in mortar.
All the sensors and feeds have to be chiseled out of the cement board to ensure that they sit flat and don't interfere with the tile.